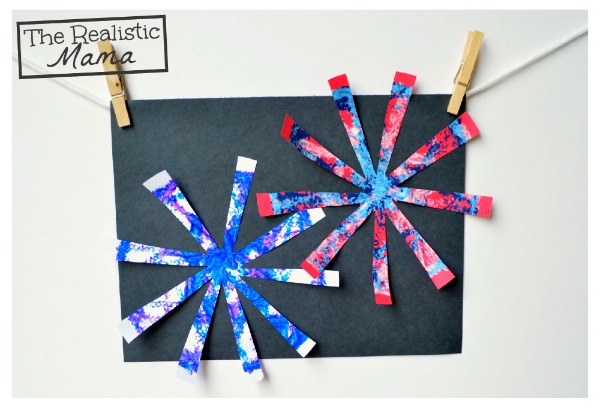
You are going to love this golf ball art project! It’s fun to make and the end result is AHmazing!
One thing I love about this craft is it doesn’t require a paintbrush. If you follow us on Facebook or Pinterest you know we love branching out occasionally with out the ordinary fun like the marbled shaving cream art or “messy” bathtub finger paint that has super easy clean up. If you aren’t following us yet, check out our e-mail newsletter so you don’t miss more great craft ideas, like today’s fireworks craft!
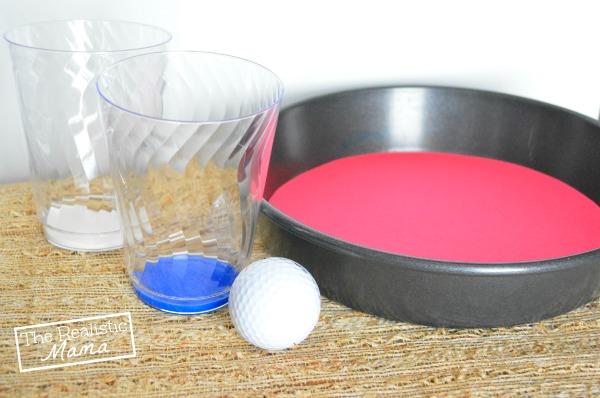
Materials:
Directions:
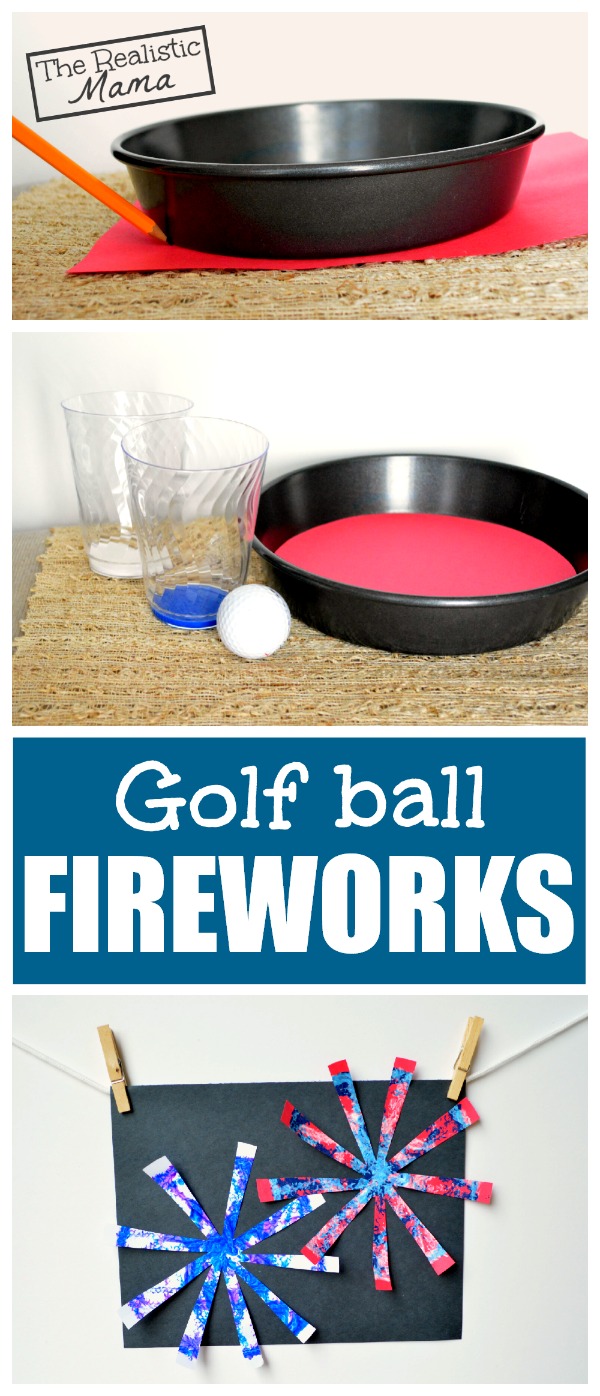
- Trace the bottom of your pan on the sheet of paper and cut in from your line about a quarter of an inch and it should fit perfectly inside your pan.
- Squirt a small amount of paint in the bottom of your cup, drop your golf ball in and swirl around until the golf ball is covered in paint.
- Drop the golf ball in your pan and roll it around until you are in love with the pattern.
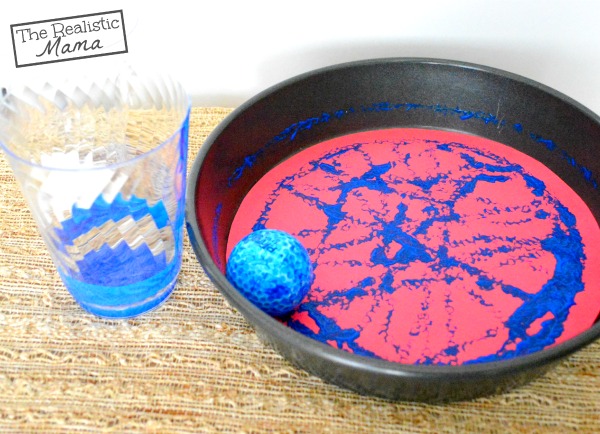
- Let dry and then repeat step 2 & 3 with a second paint color, let dry again.
- Cut wedges out of the paper to create a pinwheel shape – this will be your firework! Make as many fireworks as you like (we made 2).
- Glue your fireworks to a black sheet of paper and ta-da.
More Great Craft Ideas:
Follow Alida | The Realistic Mama’s board Kids Crafts on the Blog on Pinterest.

You can also Subscribe to our emails!
Connect with us on Pinterest!
And follow us on Facebook!
Following us are easy entries in the huge cash giveaway that you won’t want to miss, enter here: 10 Shaving Cream Art Ideas + 3 , $500 CASH winners!
PIN IT:
P.S. Are you looking for extra side income? I make full-time income blogging part-time—check out this easy step-by-step tutorial on how start a blog (no tech knowledge required).
Download My Free Family Organizer
Ready to de-stress + spend more time with your kids?
Life gets busy. I hear you. I'm here to show you how to CREATE more time for what matters most. Get a free family organizer as a thank you for joining our newsletter – includes monthly calendars, chore charts, meal planners and more...


What an adorable, simple project! Pinned!!
I did this with my 2 boys today and they loved it!!!! Awesome idea! I did use my hairdryer to dry the colors in between each since they were not for waiting for the colors to dry on their own 🙂
Great idea!